You may need to go through calibration procedure every time you replace a nozzle or after any other changes affecting relative positioning of the printhead and the buildplate, e.g. shaking or moving the printer. While printing a large part occupying the whole buildplate area, you can notice layer thickness varies from one end of the part to another, which as well means the buildplate requires recalibration.
Caution!
It’s highly recommended to preheat plastic nozzle before calibration as described here.
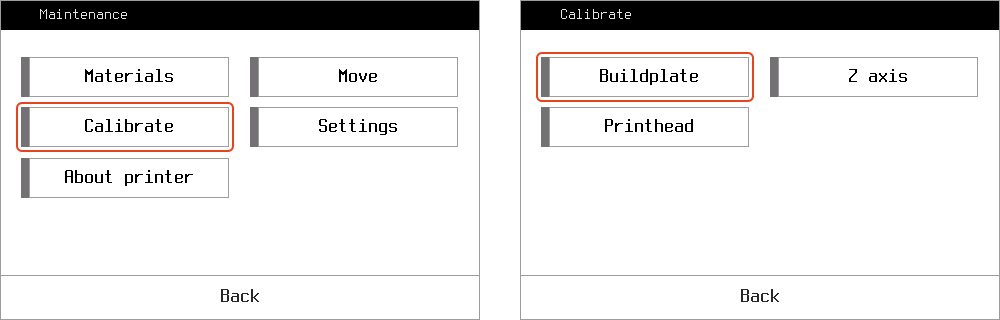
To start calibration, on the main screen press Maintenance. Choose Calibrate > Buildplate. Follow instructions. First, you will be asked to set the plastic nozzle in approximately 1 mm from the buildplate. The first of 3 points is to be set through the calibration menu, and the left and right corners are tuned manually by adjusting the regulation screws. Second, the procedure is to be repeated for fine tuning, this time using a sheet of an office paper to set the lowest possible gap between the nozzle and the buildplate. The paper must be sliding in the gap with a slight friction. Setting insufficiently low gap will lead to failed prints and printer malfunction.
It is recommended to calibrate Z axis right after buildplate calibration.