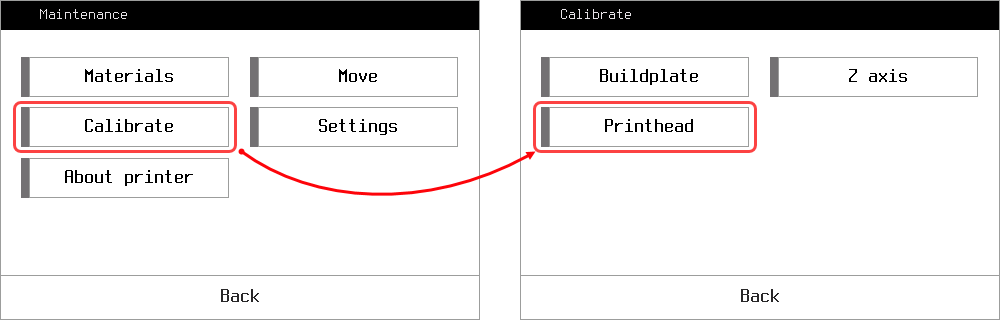
This procedure is critical for obtaining quality prints with continuous fiber. The basic procedure is automated in the printer menu. Go to printer Maintenance menu and hit Calibrate – Printhead.
Choose Comp. Z-offset button and follow the instructions on the screen. It is important to understand, that composite Z-offset value is measured relative to Z axis position – it is just a distance between plastic and composite nozzles tips on Z. It means that this calibration always must be done after Z axis calibration.
The full calibration sequence is also shown in our education video. But how can you determine you need this calibration in the first place? This is simple: at every composite print start, you will see a calibration fiber line printed at the front edge of the buildplate.
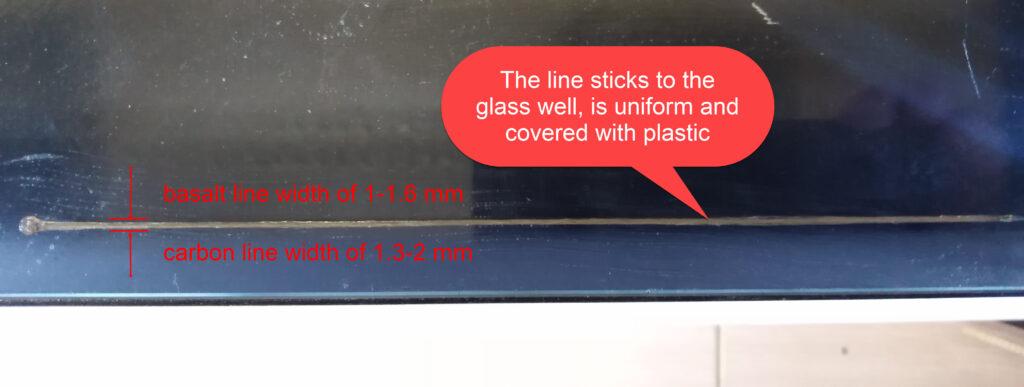
If you see the line is to high above the glass and doesn’t stick, it means the composite nozzle is too high, so the offset needs some adjustment. If the line is too wide, or the nozzle scratches the glass so the fiber cannot go out, it means the nozzle is too low.
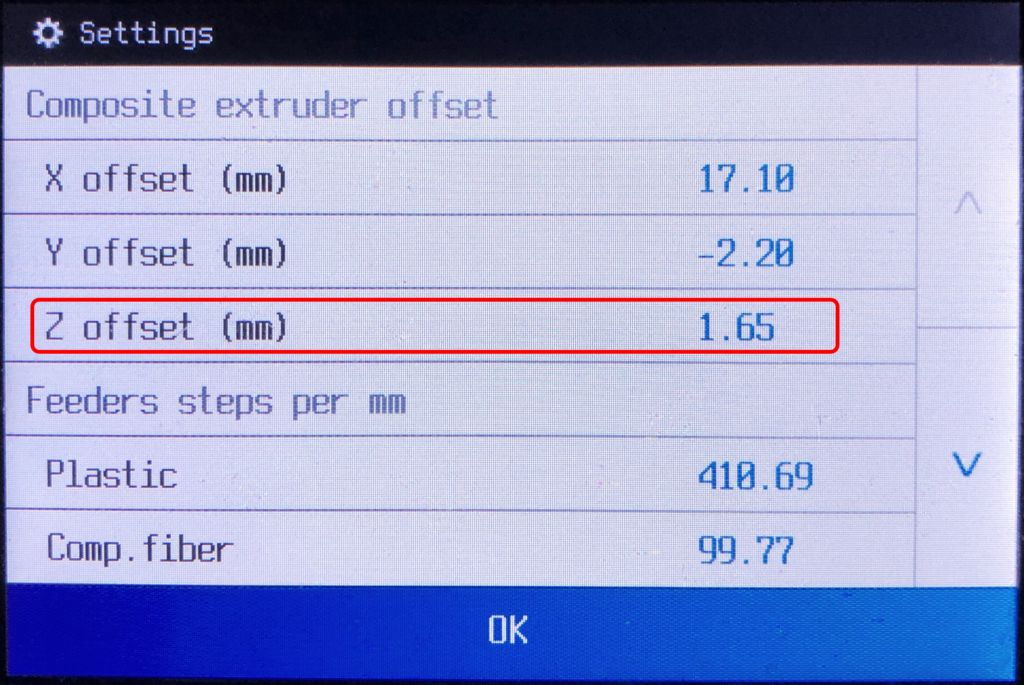
After calibration is done, you might want to check yourself with offset value in Settings. Typical values for z-offset will lie within 1.6-2.3 mm.