Your Composer A4 printer requires several assembly steps to be performed before you start printing.
Unpack the printer and place it on a reliable flat surface, protected from strong vibrations. Adjust the printer feet to compensate for any unevenness of the surface if needed.
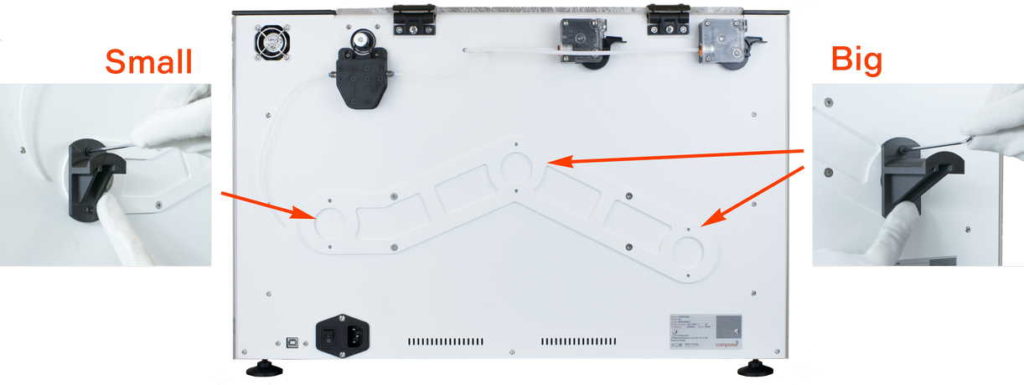
- Using a hex key from the Supply Kit, attach the coil holders to the back mount of the printer
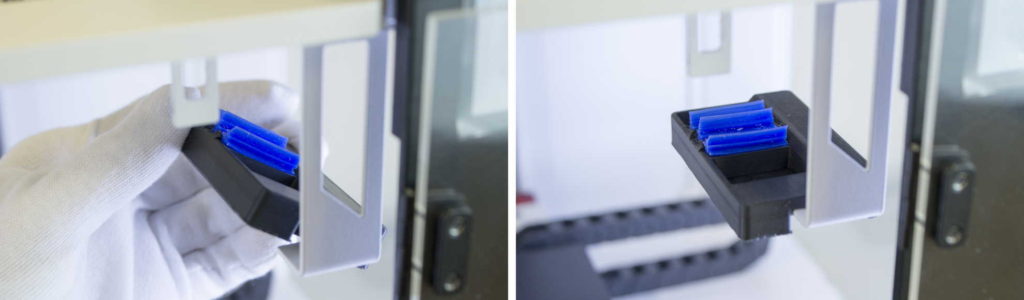
- Install the wipe station part on the station bracket on the right. Size and color may vary by model.
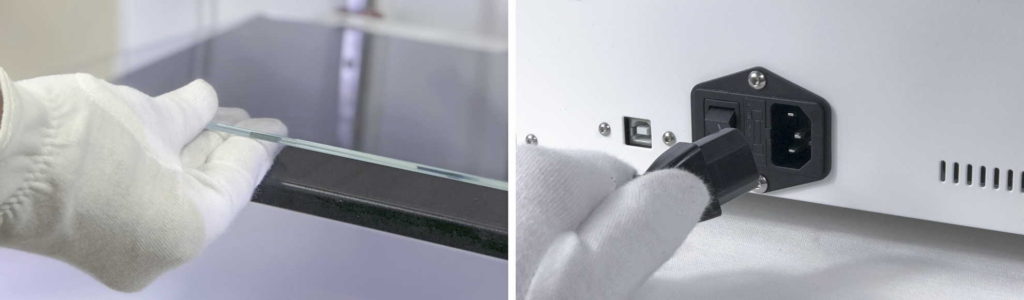
- Unpack the printing glass, apply an adhesive varnish evenly to the top surface, place it on the buildplate and fix with the clamping clips.
- Plug in the power cord.
- Calibrate the buildplate via automatic procedure in Maintenance > Calibarate > Buildplate. Calibrate the Z-axis via automatic procedure in Maintenance > Calibrate > Z-axis.
- Take the 3 coils (2xPlastic and Fiber) out of dry bags and place them onto the holders and load materials.