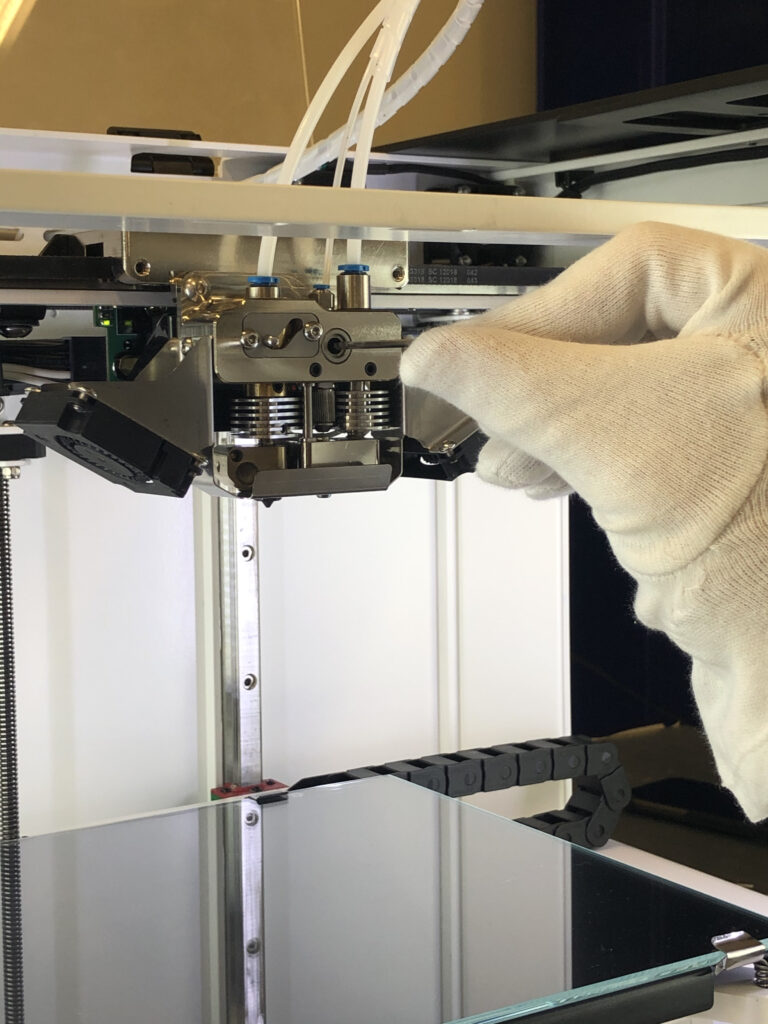
For the printer to operate properly, the cutter should be in a certain position. For some reasons (improper transportation, loose cutter bolt, etc.), the cutter may not be positioned correctly. To make sure the cutter is in the right position, go through the manual cutting procedure using Menu > Maintenance > Move > Extruders > “Scissors” button. If you cannot cut composite fiber, you should go through the cutter positioning procedure, described below.
![]() CAUTION: while the printer is switched on, the servo is under voltage permanently, so if you try to tighten it with too much force it can lead to burning of the servo, please be careful and follow the instructions.
CAUTION: while the printer is switched on, the servo is under voltage permanently, so if you try to tighten it with too much force it can lead to burning of the servo, please be careful and follow the instructions.
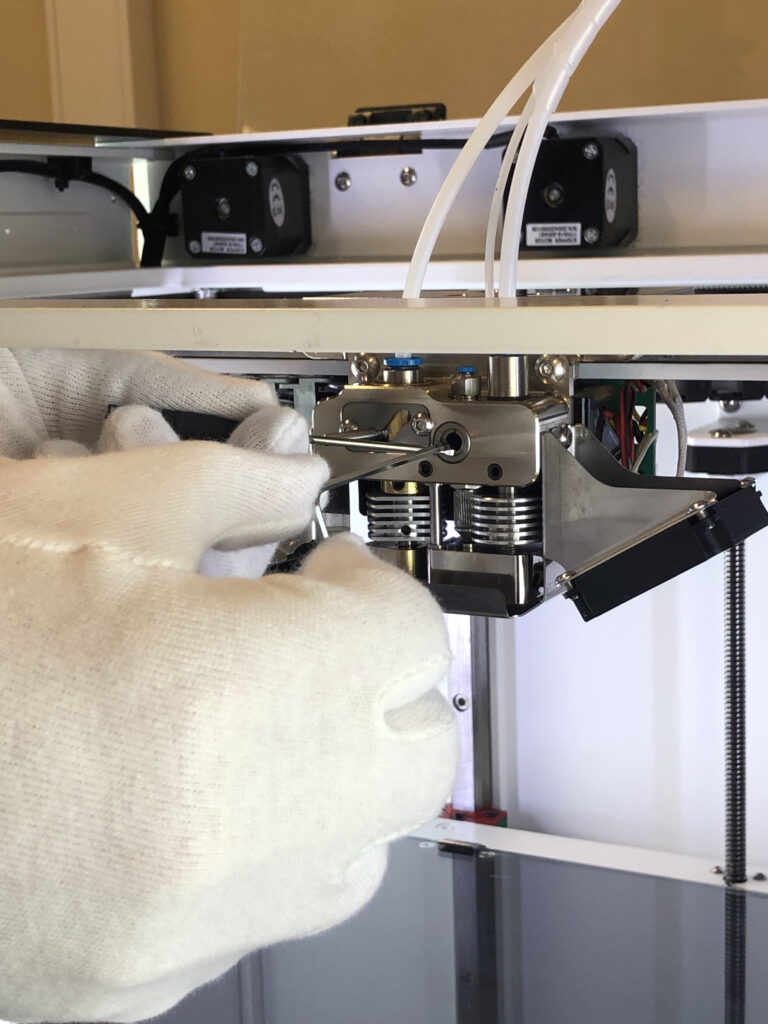
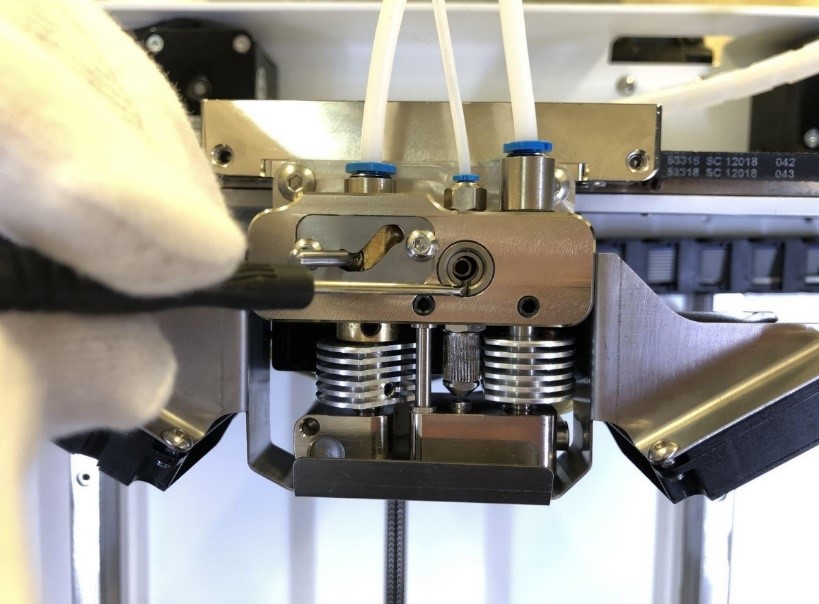
- Using the 2mm hex key from the Tool kit, loosen the bolt that fixes the cutter on the servo`s shaft.
- Using a screwdriver or tweezers from the Tool kit place the shaft by rotation so the slot is in vertical position (for the first type of the cutter, see left picture below)/align the grooves on the cutter and sleeve (for the second type of the cutter, see right picture below) and then slightly fix the bolt.
- Turn off the Composer and tighten the bolt. While tightening servo will rotate to its max angle and stop so you can tighten it.
- Turn on the Composer – servo will set on its “Zero angle”.
- Make sure that the top hole of the cutter sleeve is completely open and the cutter is firmly fixed. To check it, do the manual cutting procedure from the main menu or run NozzleOffsetTest.gcode from the external memory device supplied with your Composer printer. You can also download it from support.anisoprint.com.