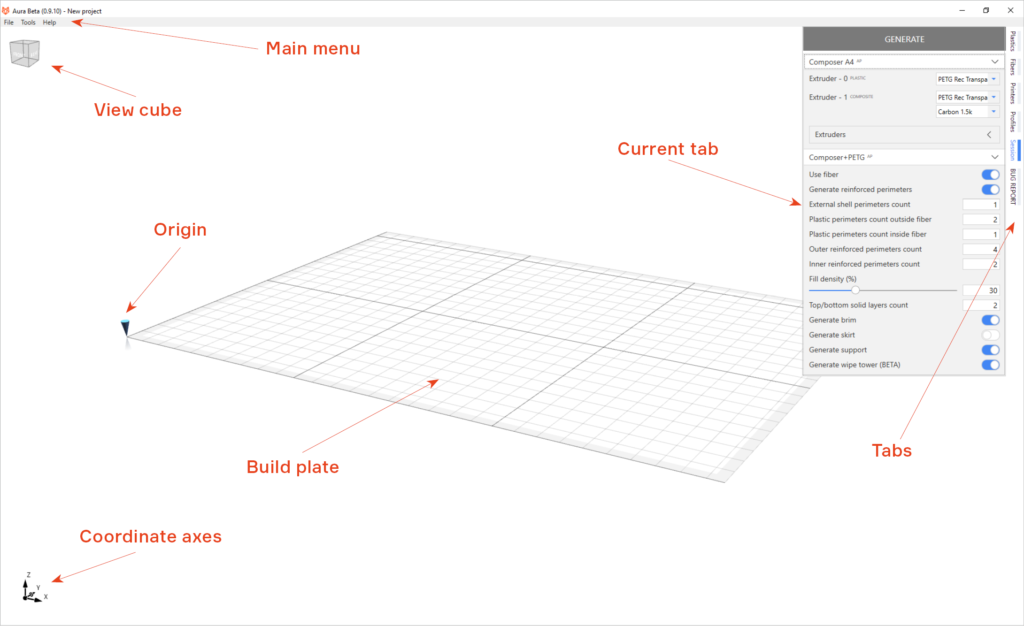
Aura has modular settings system. It means that you have 4 settings modules – plastics, fibers, printers and profiles. These modules are combined in a session, which contains all parameters required for slicing process. Session contains one printer, one or several plastic and fiber materials and one profile.
For each item you can set Name, Version and Description. Item names should be unique. Keep in mind that item name is important to compare settings in case of conflict.
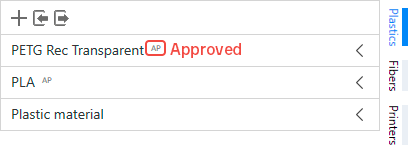
- Some items have approved mark. APproved mark means that this settings are approved by Anisoprint. Approved items can’t be modified, but it doesn’t stop you from experiments. If you want to make any changes, you can copy the approved settings. You can find AP mark on the right of settings name in settings list.

- You can delete any non-approved (without AP mark) settings item. Just click on a delete button. If you are trying to remove item which is using by the session you will see a warning.

- You can duplicate any settings item. Just click on a duplicate button. Duplication creates a full copy of your settings item.

- You can export any settings item. Just click on a export button. Each settings type has own file format.

- You can find information about any parameter by clicking on a question mark on the right from the parameter name.

- You can add new item to list. Just click on an add button, and you will see a new item in a list. Item will be filled with default values.

- You can import a set of settings. Just click on a import button.

- You can export all settings from your list . Just click on a export button.

