Your Composer requires several assembly steps before you can start printing.
Unpack the printer and place it on a reliable flat surface, protected from strong vibrations. Adjust the printer feet to compensate for any unevenness of the surface if needed.
1. Remove blue transportation tape to release the doors and print head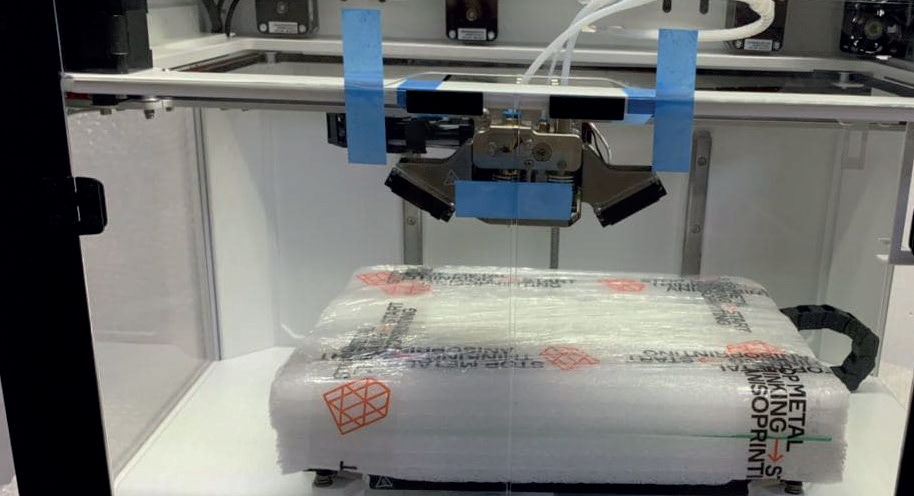
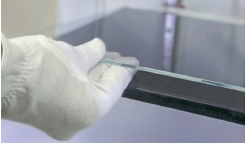
2. Unpack the glass print surface, place it on the buildplate and fix with the clamping clips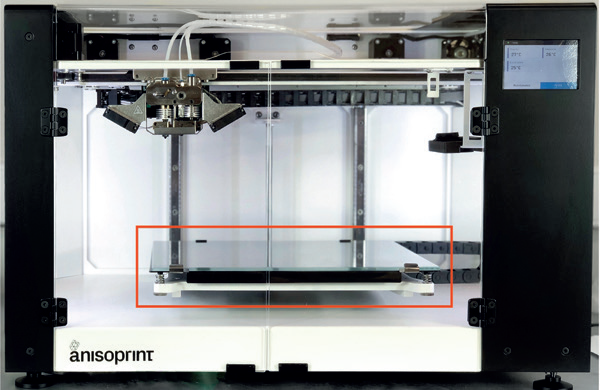
3. Using a hex key from the Tool kit, attach the spool holders to the back mount of the printer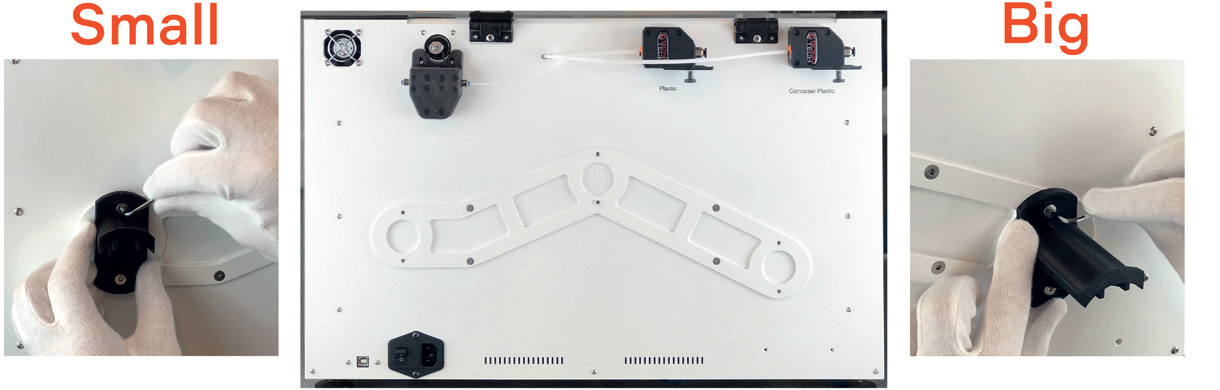
4. Install the wipe station part on the station bracket on the right for A4 and on the left for A3 Composers. The size and color may vary with the printer model 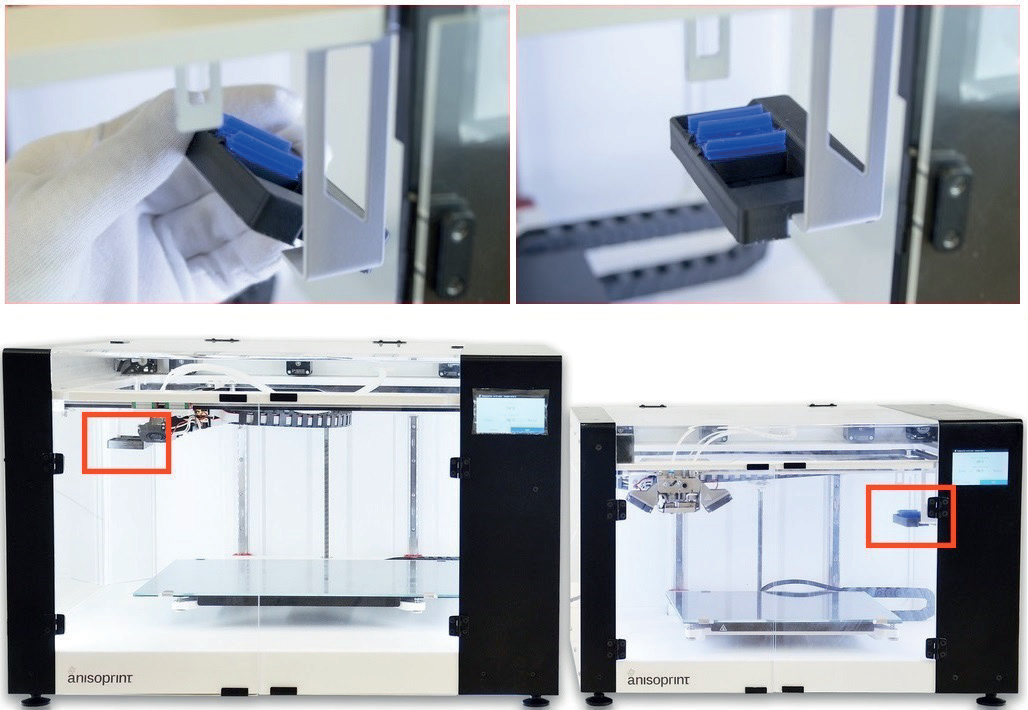
5. Plug in the power cable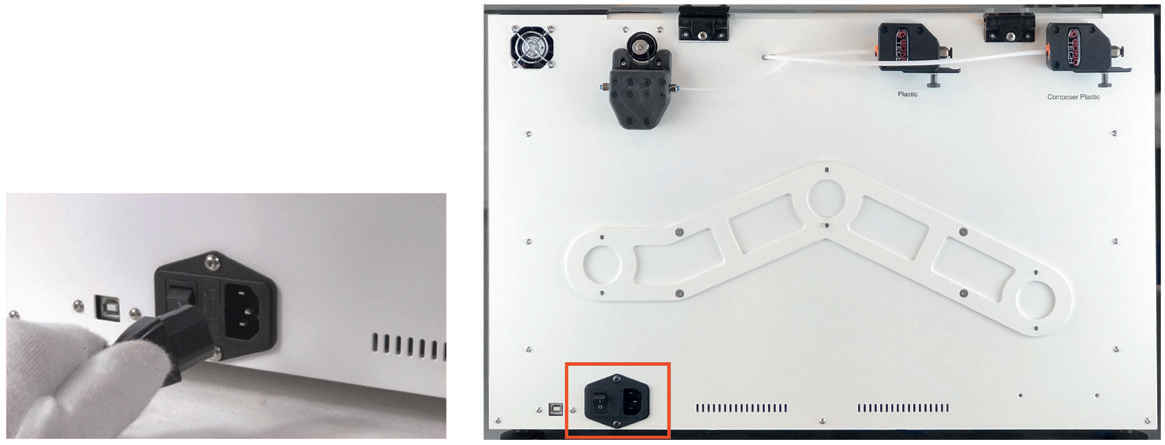
6. Calibrate the buildplate with an in-built procedure: at the home screen of the printer, go to Maintenance > Calibarate > Buildplate
7. Calibrate the Z-axis with a built-in procedure in Maintenance > Calibrate > Z-axis